 Home
Home![]() Approach to using P2 footage within Final Cut Pro directly from a P2 card
Approach to using P2 footage within Final Cut Pro directly from a P2 card
You can import footage into Final Cut Pro directly from a P2 card, using a P2 card reader, the PCMCIA CardBus slot in your laptop, or the HVX200 camera itself. You can also import footage from a P2 card image that was offloaded to a hard drive. Final Cut Pro sees the P2 card as a volume and also sees the path to the card. The process for importing P2 clips is similar to standard importing, with some important differences. For example, importing P2 footage actually copies the media from the P2 card into your Capture Scratch folder and places a QuickTime wrapper around it to edit in Final Cut Pro (Learn to encode P2 MXF to XDCAM or DNxHD codec for Avid).
Step 1
Load a P2 card into your laptop PCMCIA slot or connect the camera via a FireWire cable.
Note: You can also attach a P2 card reader using USB 2.0; make sure the P2 card is write protected and is in the Read Only mode.
Step 2
In Final Cut Pro, choose File > Import > Panasonic P2…
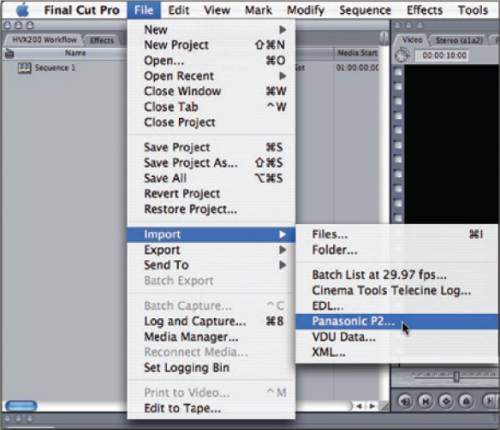
Tip: If you are going to be importing a lot of P2 footage, create a button for this option and place it in the Browser button bar for easier access.
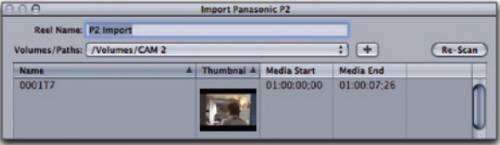
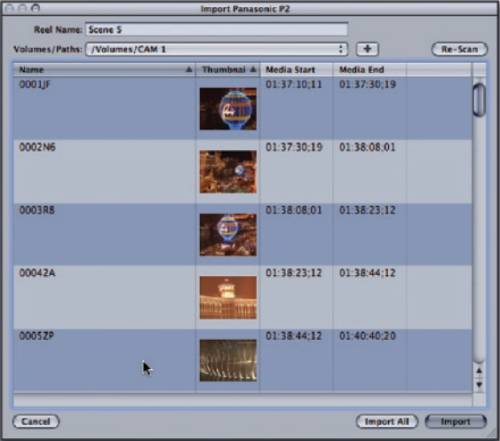
When you choose Import > Panasonic P2, an Import Panasonic P2 browser window appears. Enter your P2 reel name and select your source or footage location.
If Final Cut Pro detects a P2 card in your laptop’s PC slot, or from a card reader or a connected camera, it will display that path and the P2 clips on that card in the clip area of the window.
Step 3
In the Reel Name field, enter the reel name as a reference for this set of P2 clips.
Step 4
If more than one P2 card is connected to the computer, click the Volumes/Paths pop-up window to select the appropriate volume or P2 card.
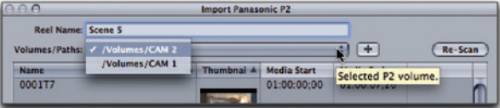
When you select a volume, the clips from that volume appear in the clips of the Window. (How to play P2 MXF with VLC player)
Step 5
If the P2 clips were transferred to your hard drive before importing, they will appear in a separate folder named after the P2 card. To identify those clips, click the Plus (+) button next to the Volumes/Paths pop-up window and, when the Open window appears, manually navigate to the correct footage location.
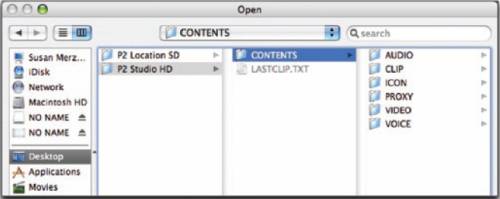
When you see the P2 footage in this window, you’ll find that the clips are organized into separate folders contained within a Contents folder. If the footage was transferred to your hard drive, the Contents folder will be contained within another folder most likely named for the footage you shot. In the image above, the Contents folder is located on the P2 Studio HD folder, which was transferred from a P2 card.
Note: If you are importing directly from a P2 card in your laptop PC slot or from a P2 camera, you will see a P2 card icon, which the Contents folder will be on.
Step 6
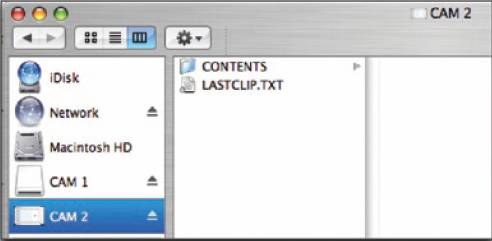
To import the P2 footage onto your hard drive, select the Contents folder that contains the P2 clip folders.
Note: You can also select the Contents parent folder for the same result.
Step 7
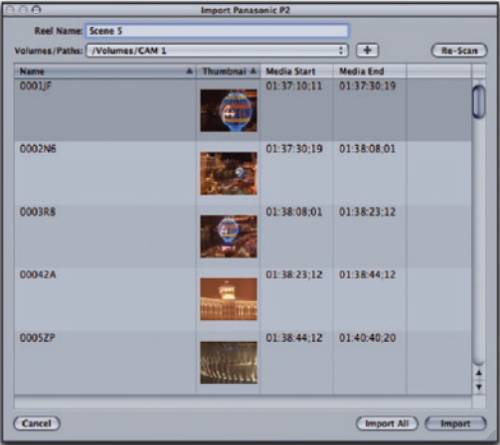
In the Import Panasonic P2 window, click to select the clips you want to import. You can use Shift-click and Command-click to refine or limit the selection.
Step 8
Click the Import button to import the selected or highlighted clips into Final Cut Pro. Click the Import All button if you want to import all the P2 clips from this volume or location at one time.
In the Final Cut Pro Browser, during the importing process, each clip appears as it’s being imported. Clips are imported in the order they appear on the card.
Once the clips are imported into Final Cut Pro, you can rename them to better reflect the actual footage.
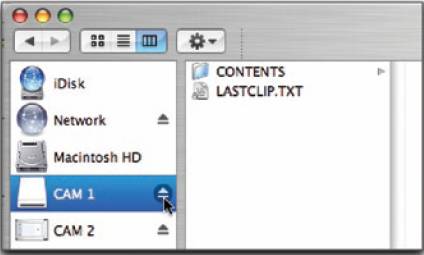
Tip: Don’t forget to eject the icon of the P2 card or the camera hard drive icon first before ejecting the card or disconnecting the FireWire cable.
![]() Approach to transcoding P2 MXF footage to Apple ProRes 422 for editing with FCP
Approach to transcoding P2 MXF footage to Apple ProRes 422 for editing with FCP
In case that you failed to import P2 Footage into Final Cut Pro directly from a P2 card, another approach to using P2 footage in FCP is to change P2 MXF files to FCP preferred Apple ProRes 422 codec. See the detailed procedure on converting P2 MXF to ProRes 422 for FCP by using third party software Pavtube MXF Converter for Mac.
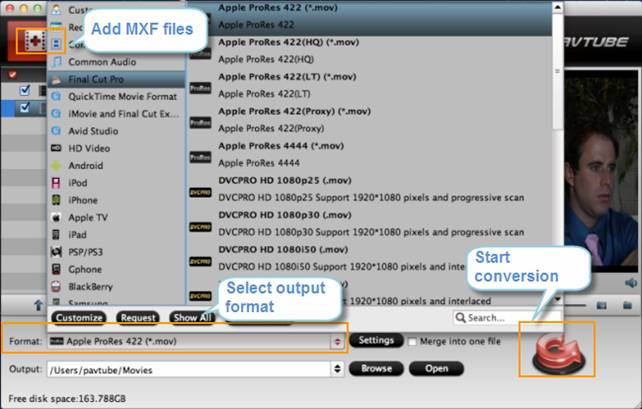
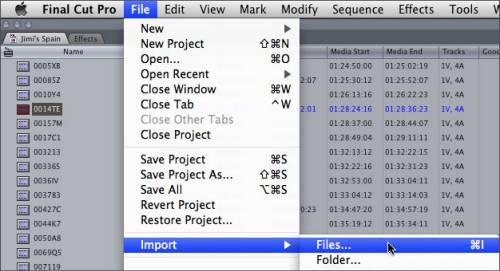
Once the format conversion is done, open up Final Cut Pro, choose File > Import > Files…to select and load the generated ProRes 422 MOV files to FCP for editing use.
More related articles
Import AG-HPX600 P2 MXF footage to FCP without rendering
Let Sony XDCAM MXF files work with Final Cut Pro
Transfer Canon C300 MXF to FCP/Quicktime for editing
Panasonic MTS to FCP 7/FCP X Workflow
Insert the HD *.mov files from Canon 550D (T2i) to edit in FCP
 Free Trial MXF Converter for Mac

Useful Tips
- How to burn Final Cut Pro projects to DVD on Mac?
- DVD to Final Cut - How to rip DVD to edit in FCP, FCP X, FCE on Mac?
- Enable Final Cut Pro 6/7 and FCP X to work with NEX-6 50p/60p MTS clips
- Canon C500 MXF Footage and Final Cut Pro (X) workflow - C500 MXF transcoding to ProRes 422
- Using P2 AVC-Intra 50/AVC-Intra 100 MXF footage with Final Cut Pro
- Canon C100 and FCP workflow - how can I edit Canon C100 AVCHD with FCP (X)?


