 Home
HomeWho can help you create a perfect home media center? It will be Kodi 17. Kodi 17 can stream your multimedia from anywhere in the house or directly from the internet using practically any protocol available. Adding your media library including DVD to Kodi 17 can make anyone even your 5-year-old daughter start her movie by herself. From Kodi supported page, Kodi does handle DVD. So let's learn how to put DVD to Kodi 17 playlist.
Part 1: Play DVD on Kodi 17 Directly
1. First of all, you should download Kodi from here (Current release: Kodi v17.0).
2. Insert your DVD to optical drive and install and launch Kodi 17.
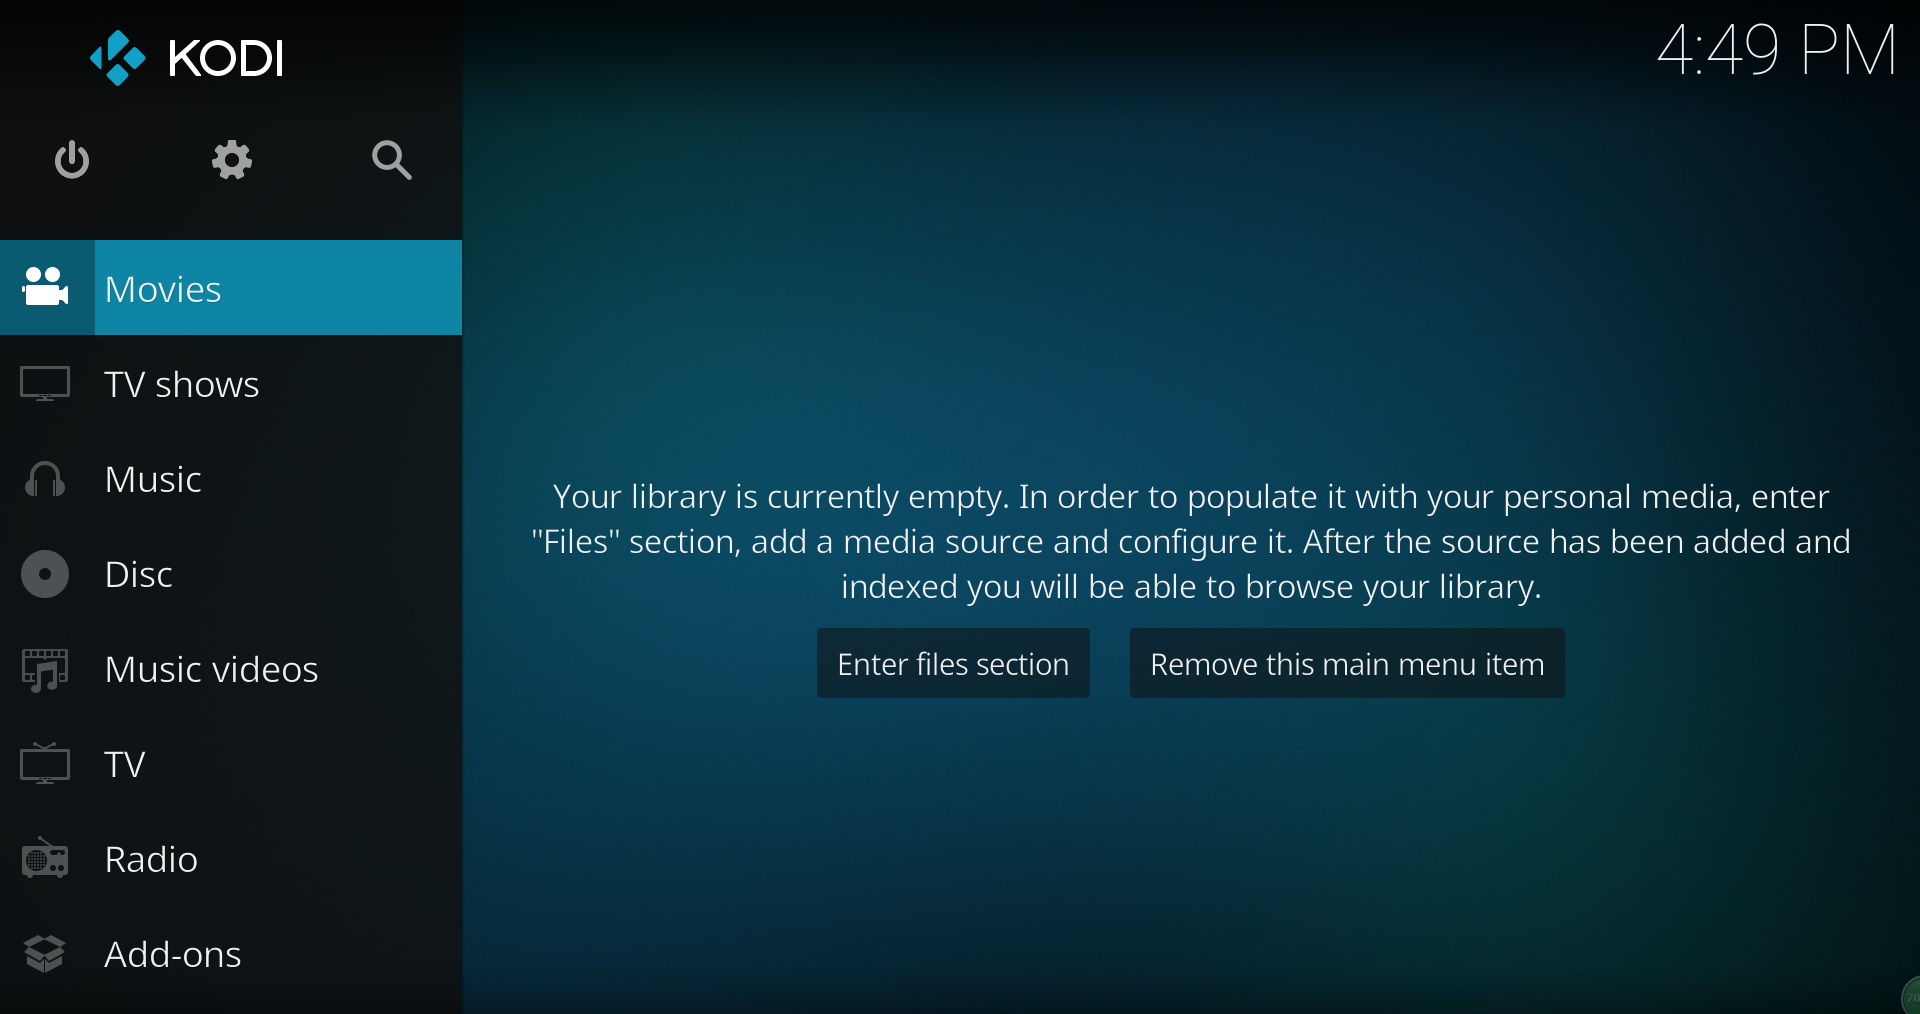
3. Click "Movies" on the interface.
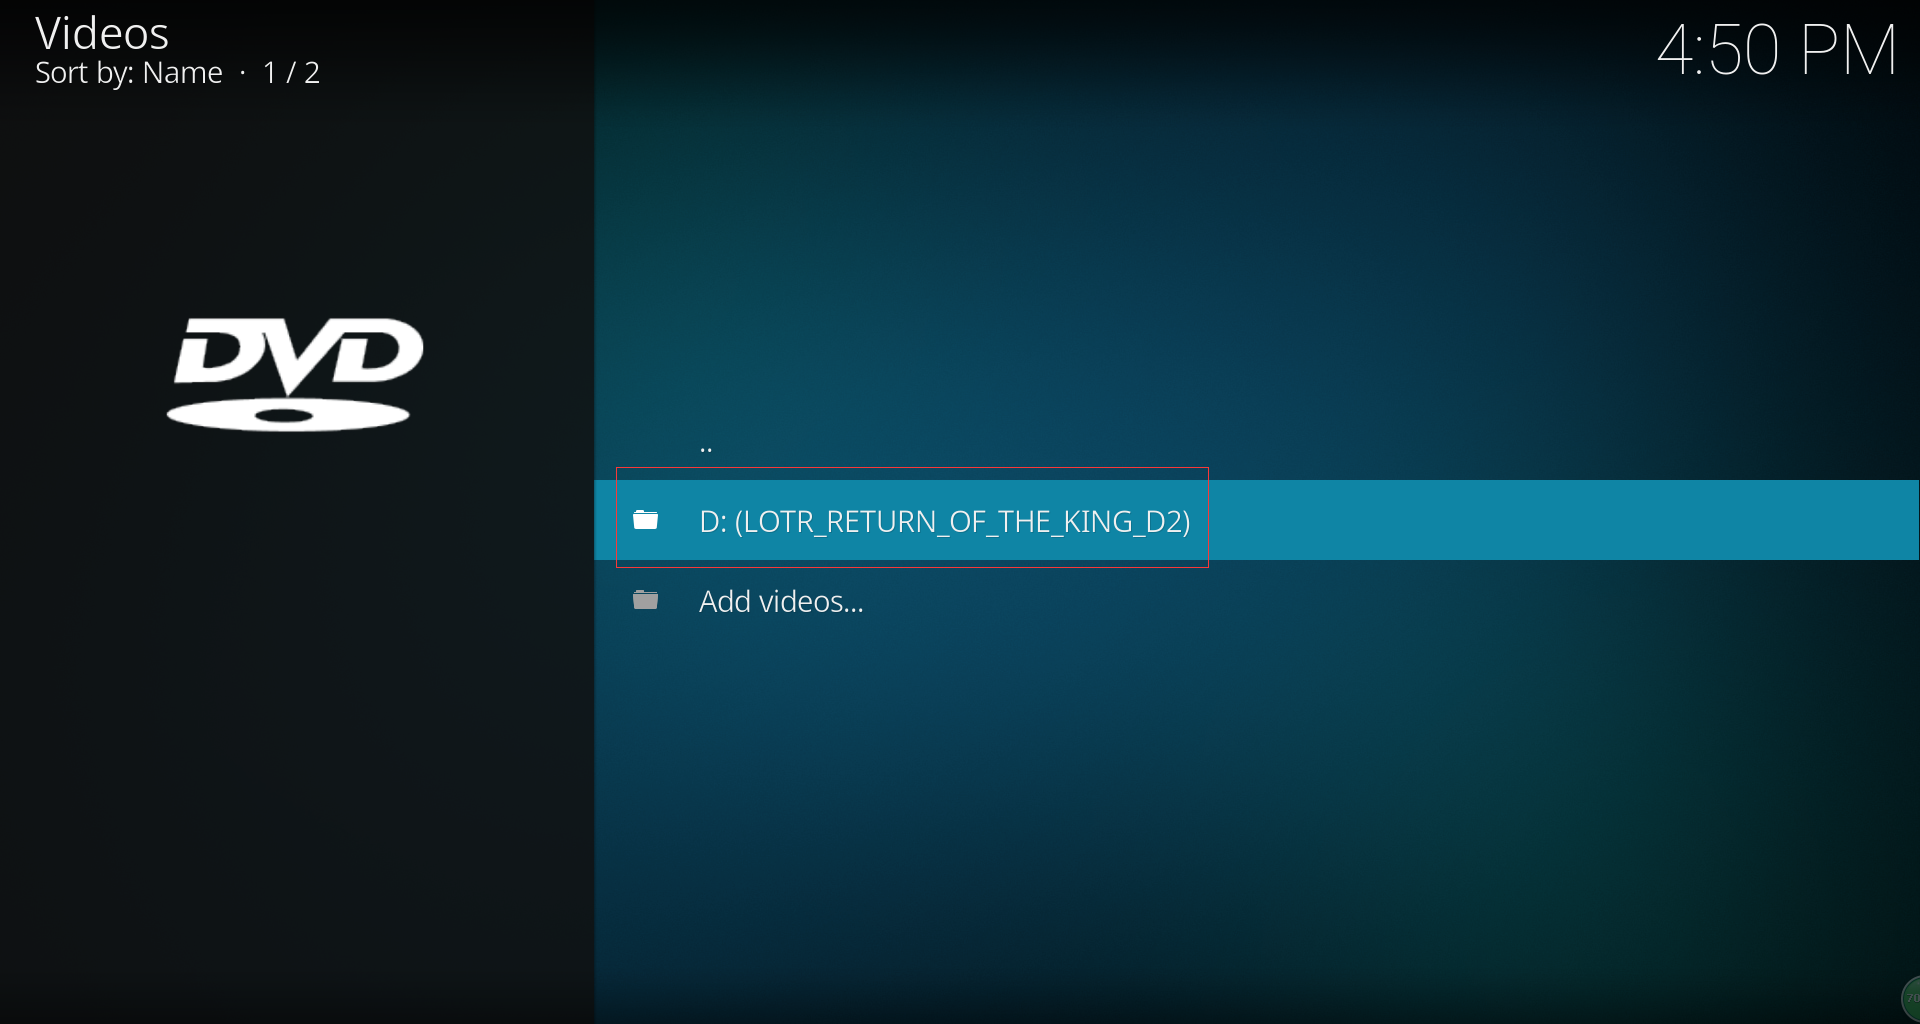
4. After click Movies, you are shown your DVD name. Click your movie name.
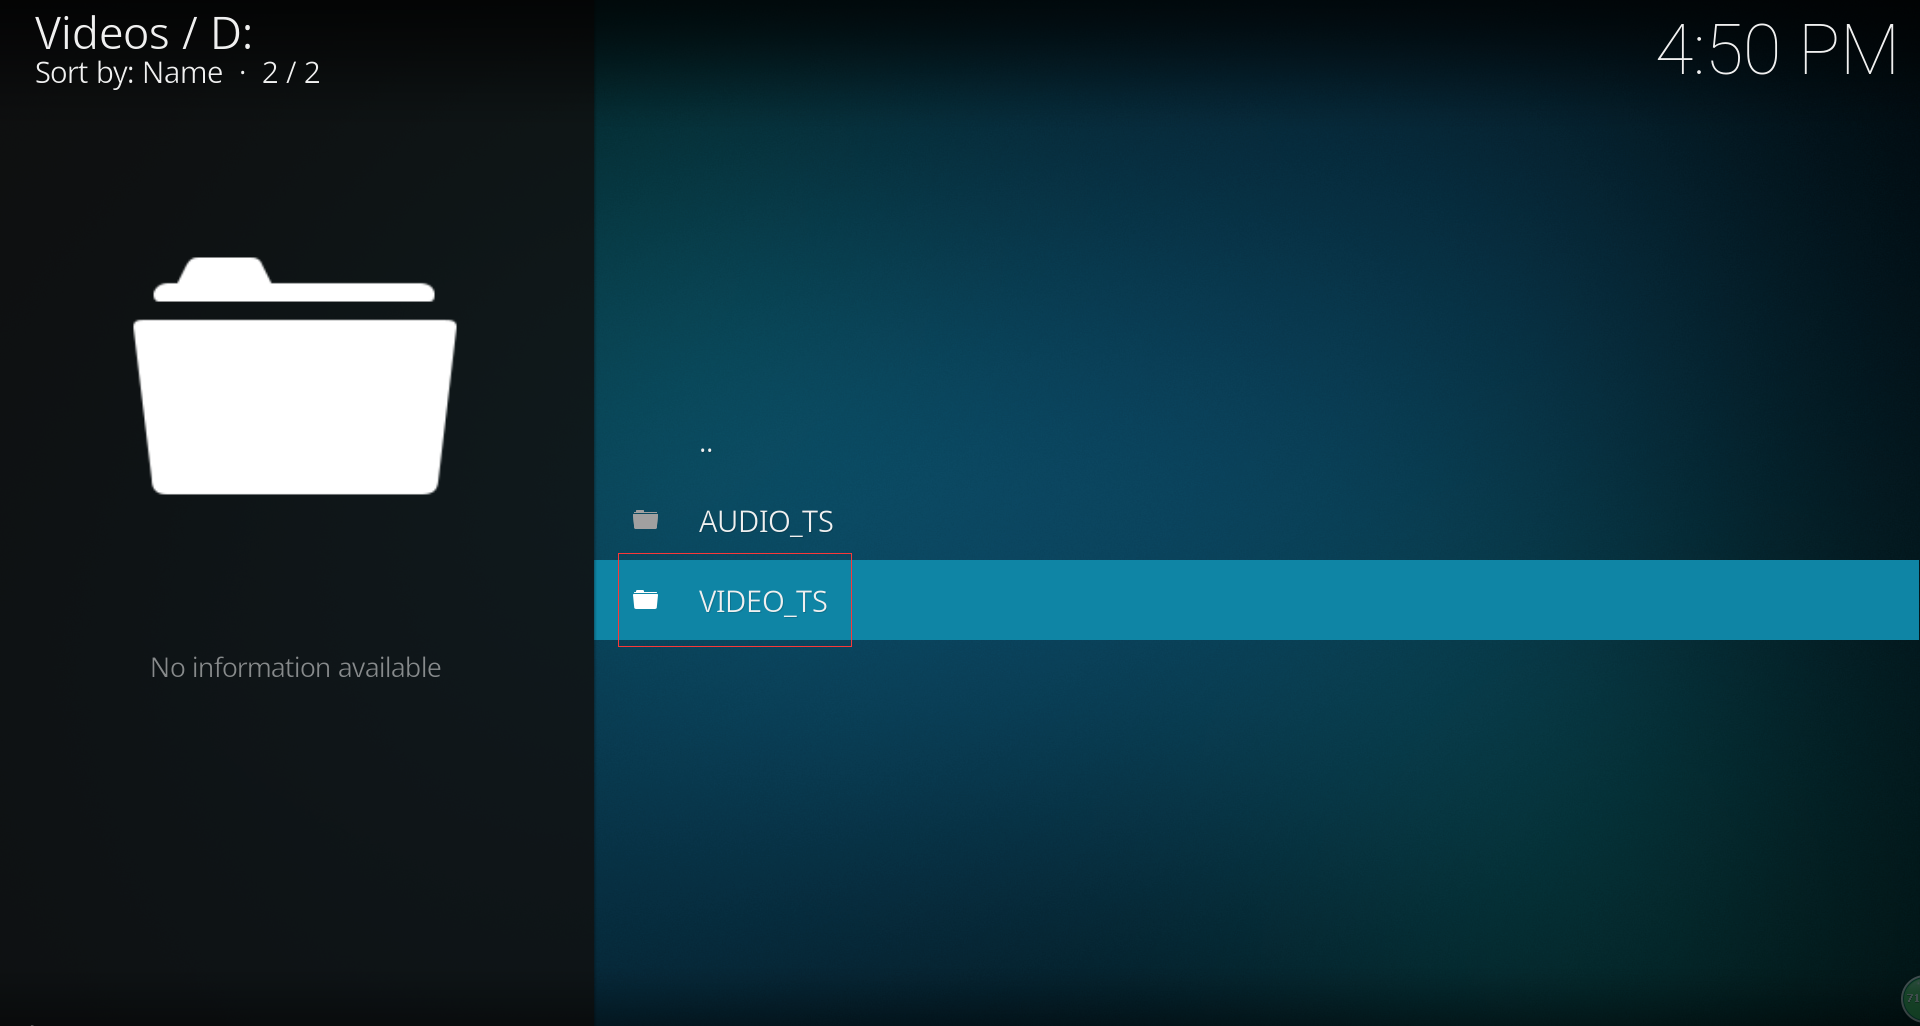
5. The DVD Video-TS and Audio-TS folder will be listed here. To play DVD video on Kodi 17, just press on Video-TS folder.
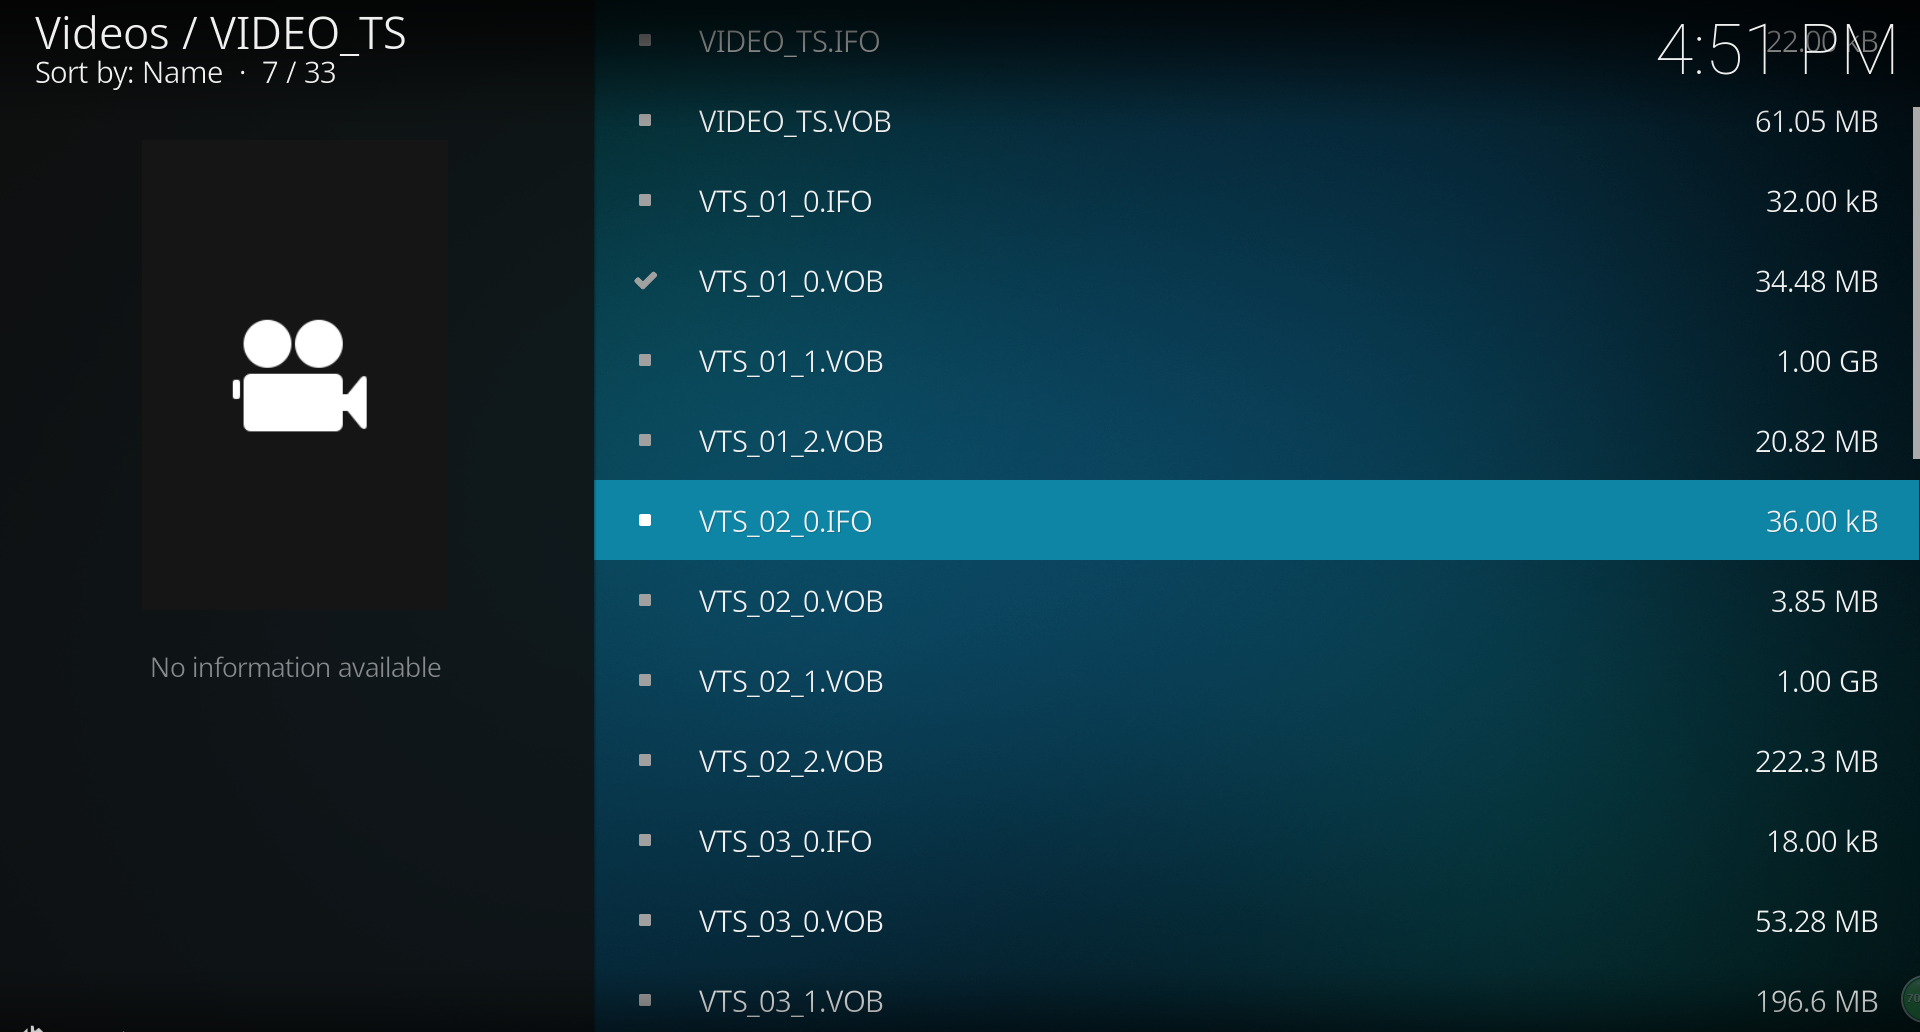
6. Here, your DVD chapters will be listed. And click the chapter you want to play to watch the movies.
Part 2: Play Protected DVD on Kodi 17 and Backup DVD to Kodi 17 to play a single file
As we see, when you directly play DVD discs or DVD folder, Kodi 17 will list the contents of the folder and you only can watch DVD videos by a chapter. So we recommend you to use a DVD Ripper to turn the DVD into a single file that Kodi supported, unless you really like watching previews, warnings, and finally navigating the DVD menu.
In addition, DVD region codes and DVD copy protection makes it difficult to copy DVD movie content of disc to Kodi movie library. So when your DVDs are commercial ones and can't be played on Kodi (17 and lower version), you also can use a DVD Ripper to bypass DVD encryption and extract DVD to a digital files that Kodi supported.
Pavtube ByteCopy will be the best choice to copy DVD to Kodi 17. 1. Pavtube ByteCopy remove DVD encryption including CSS, region code, RCE, Sony ArccOS, UOPs, Disney x-project DRM, etc. 2. ByteCopy can convert DVD to Kodi 17 supported MKV, MP4, AVI, H.265, etc format video. 3. ByteCopy can main title copy DVD to one single VOB files for Kodi 17. 4. ByteCopy can copy DVD to Kodi 17 to uncompressed MKV with lossless picture quality so even though you copied DVD, you still can get original DVD video quality.
For Mac users, please use Pavtube ByteCopy for Mac which can copy DVD to Kodi 17 on macOS Sierra. You can read ByteCopy for Mac review to learn more about it.
Steps to Copy DVD to Kodi 17 in a single file
Step 1: Install ByteCopy and Load DVD.
Free download Pavtube ByteCopy, install and launch it. Insert DVD into disc drive, click the “Load from disc” icon to browse to disc drive and import DVD into this app.
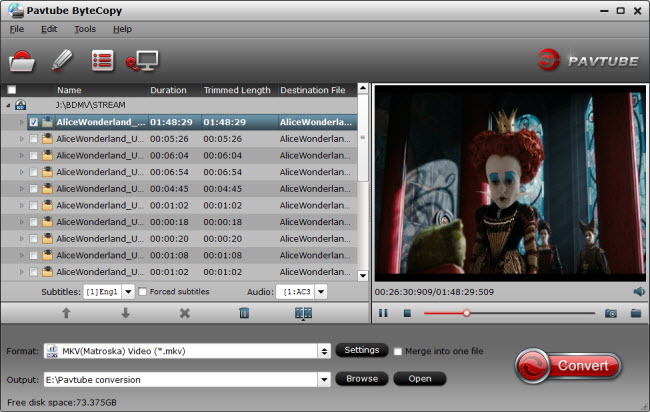
Step 2: Select video format and set profile.
Choose from “Format” menu for Kodi playable video. In order to get Kodi file, you are suggested to follow the path “HD Video” > “MP4 HD Video(*.mp4)” as output format. To keep lossless image quality, you can choose to copy DVD to lossless MKV.

Tip: Parameters including video codec, video file size, bitrate, frame rate, audio sample rate, audio channels, and more in Settings can be reset to get a satisfying video/audio enjoyment on Kodi.
Step 3: Start to backup DVD to Kodi 17
Click the big “Convert” to start the conversion. The conversion speed also depends on your computer configuration. My suggestion is not to play nor edit videos when it’s converting. After conversion, click “Open” or “Open output folder” to quick locate converted files.
Once you have ripped your DVD movie to the hard drive in MP4, it is time to add it to your Kodi 17 movie library as the part one steps. After that, you just can freely enjoy all your DVD movies on Kodi 17.
 Free Trial ByteCopy


